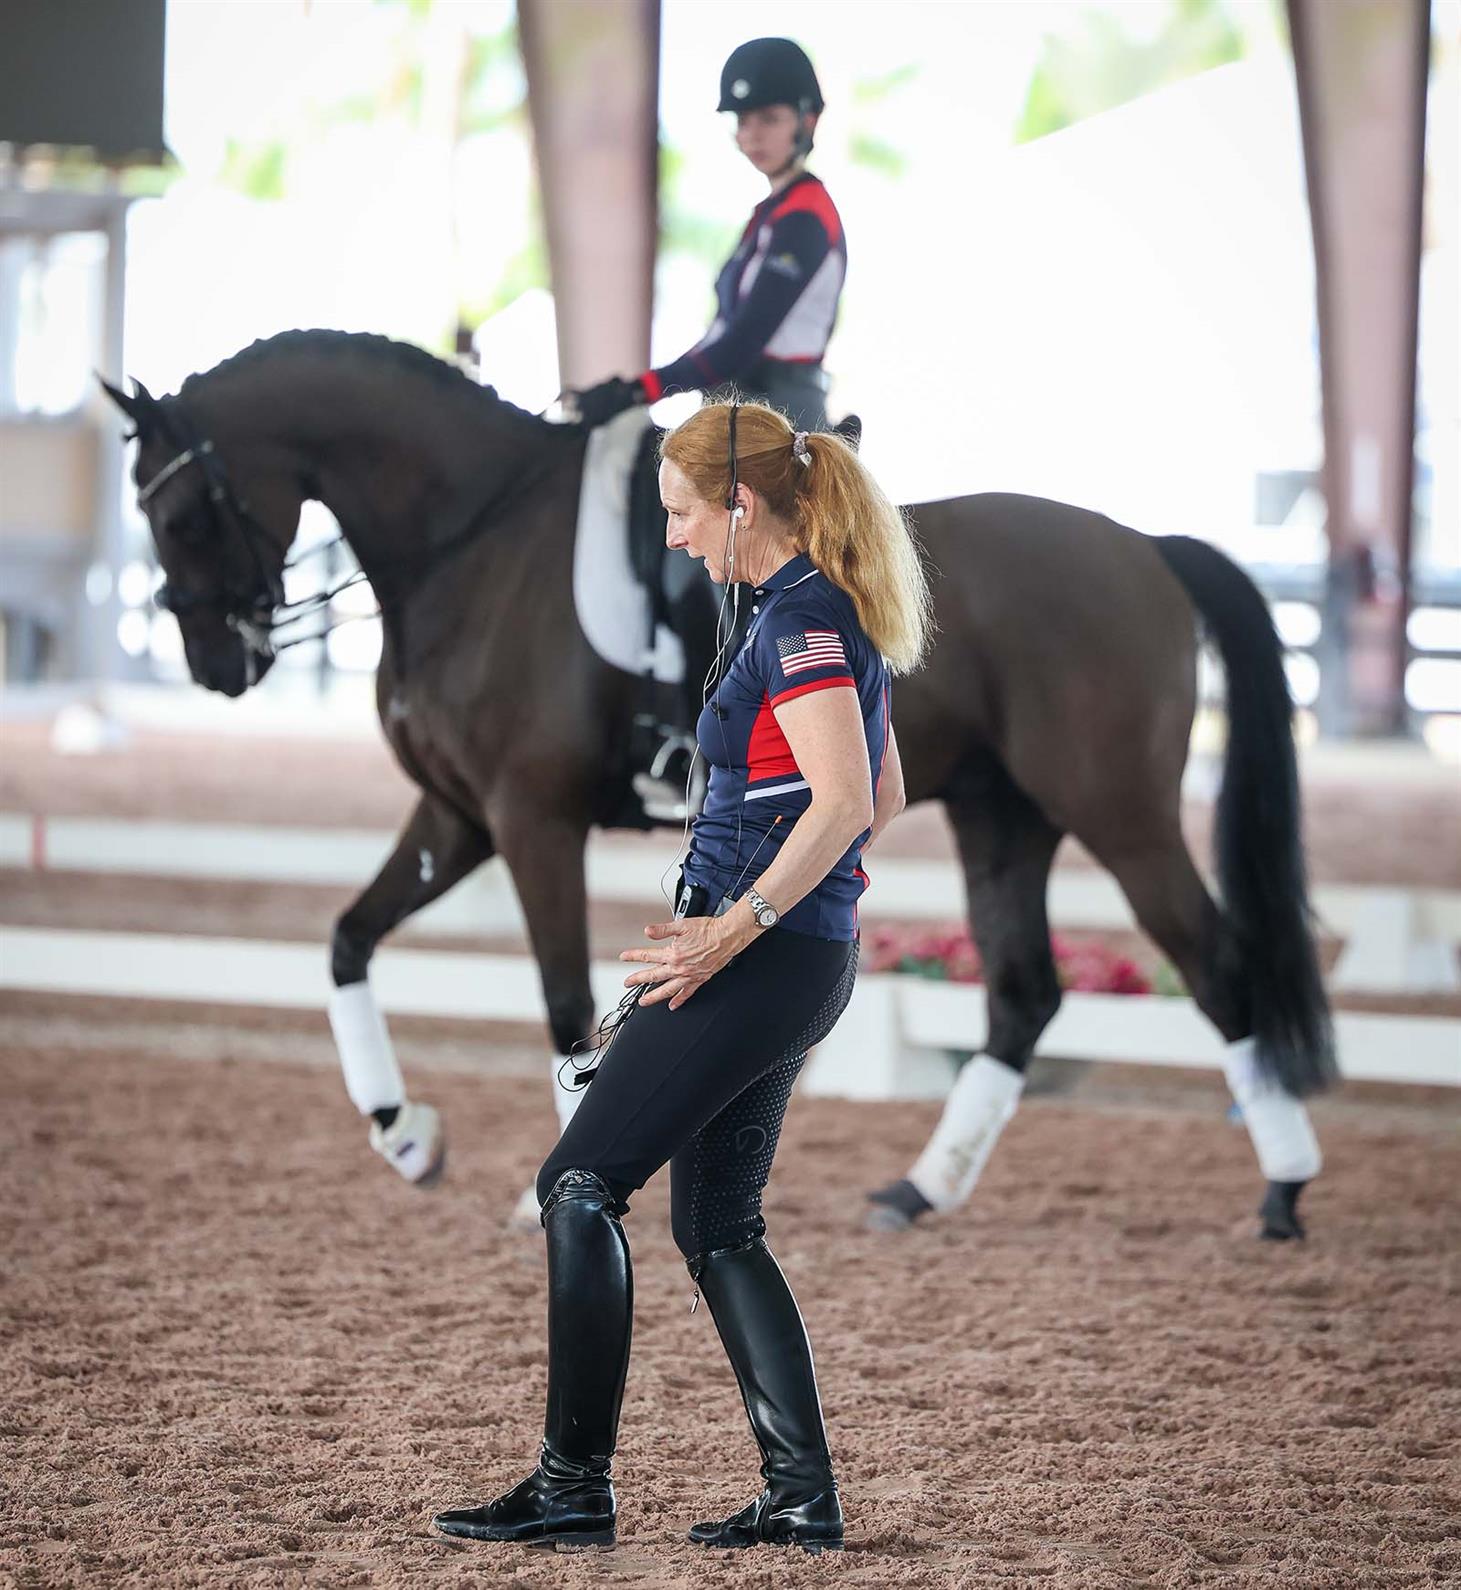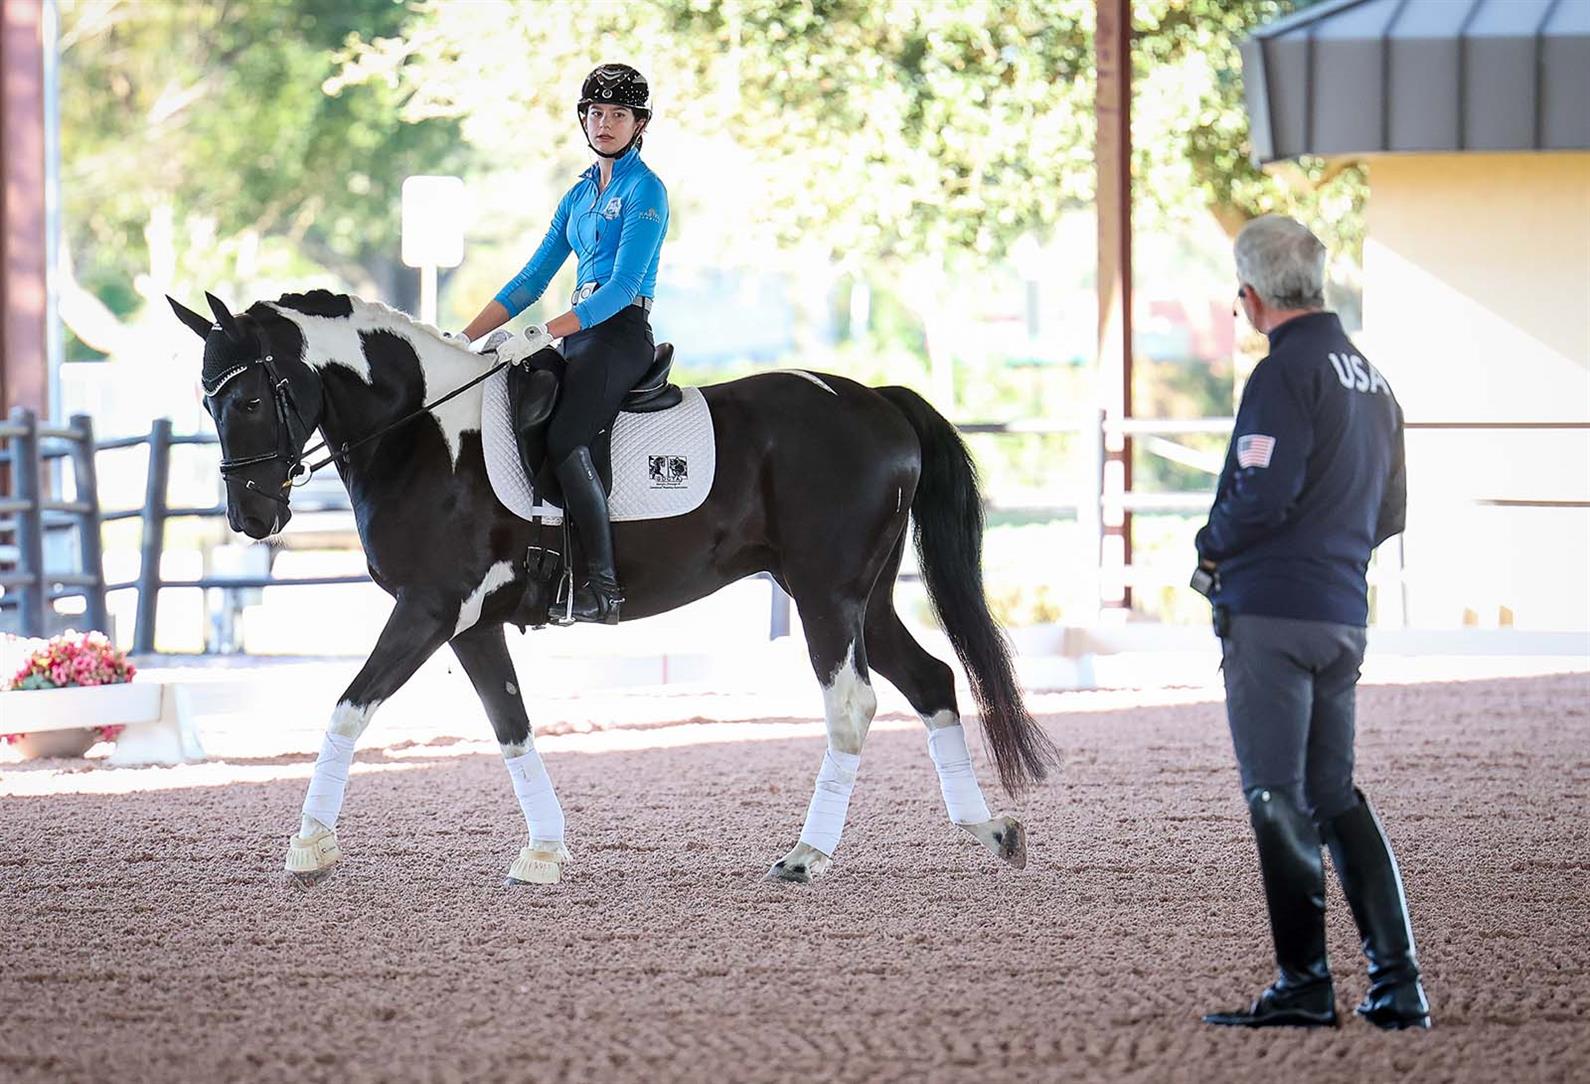
Each winter, some of the country’s top up-and-coming dressage riders are invited to learn from the pros at the Robert Dover USEF Horsemastership Clinic Week. The 2022 clinic began with an introductory lecture on dressage theory from Dover himself and continued with instruction from clinicians George Williams, Sabine Schut-Kery, Olivia LaGoy-Weltz, Ali Brock, and Adrienne Lyle.
Watch Robert Dover's dressage theory lecture here.
Here are some of the things we learned from the clinicians at the 2022 event.
1. It all begins with a breath.
“How do we create an active driving seat? Take a deep breath,” said Dover. “What does that do? As you breathe in, energy through the oxygen coming into your lungs goes up into your chest, bringing your shoulders back. It’s through that deep breath that you empower your body to act.”
To illustrate this concept, Dover invoked the childhood memory of swinging on a playground swing.
“Remember being on a swing? Each time you came back, you would take a deep breath—you probably didn’t even realize you were doing it—and you’d push the seat and you’d go a little higher. It’s a great visual. It is the exact same way that we push with our seat [on the horse.]”
Over the course of a horse’s training, they learn that the breath precedes a cue and will begin to respond to that, Dover said, meaning that they will require less leg or rein cue, ultimately contributing to the invisible communication that dressage riders work for.
2. There are three groups of aids that work together to create balance and rhythm in the horse. Used together, they create the half-halt.
Dover’s theory lecture centers around the idea of three different types of aids: driving, bending, and opposition. Driving aids send the horse forward, bending aids keep the horse’s hind feet following the track of the front feet around a corner and on a straight line, and the aids of opposition regulate speed, tempo, and bend.
“Through these three sets of aids, you give [a young horse] a sense of rhythm, a sense of tempo, a sense of balance,” said Dover. “And through that balance, the merging of those three sets of aids, they begin to go, ‘You know what? This is feeling pretty good to me.’
“This moment of the breath in, close legs, close fist, becomes the doorway through which we make every change of bend, of balance, of gait, of pace, and of movement: The half-halt,” said Dover. “If they’re out of balance, we ride a half-halt to bring them back to a perfect state of balance and attention.”
Dover describes visualizing perfect movements as part of the process of riding harmoniously.
“The moment before we take in our breath, we are already seeing a movie in our mind of our horse doing this next balance from one half-halt to the next,” he said. “We half-halt and we create a shoulder-in. We half-halt and create the half-pass, then breathe out and relax the fist. We half-halt and we create the straightness to get up the centerline. We take in the breath, we close our legs, we close our fist, we canter on the spot and within that canter, we create the halt. We’ve taken the breath, we close our legs, we close our fist, we ask the horse to trot, we breathe out, and we relax that fist, having created the trot.”

3. Find the rhythm.
In the first mounted session, clinician George Williams gave Virginia Woodcock a warm-up exercise to work on rhythm. While working at a posting trot on a circle, Williams had Woodcock sit for three steps, then five steps, and increasing until she was sitting for a stretch of 11 strides on her horse, The Safari Party.
“When we sit the trot for three steps or five steps or seven steps and so on, first, it gives you a feeling of how the horse is moving under you, that you can really distinguish the strides or the steps of the horse,” Williams explained. “And second, I’m looking for the effect that he doesn’t change his tempo or his way of going, that he truly accepts the rider’s seat.”
By establishing this rhythm early in the ride, Woodcock was better equipped to cue her horse in rhythm for clean transitions later on.
4. Focus on rideability with a hot horse.
Bianca Schmidt came into her first mounted session with Sabine Schut-Kery riding CK Sir Shimmi, a new horse for her. Sir Shimmi came in hot, and Schut-Kery helped Schmidt to work through the horse’s tension in a new situation.
“When I have a horse like that, I think, ‘Let’s get the horse comfortable so I get the most rideability,’” said Schut-Kery. “Just stay quiet. There’s nothing to accomplish right now other than he relaxes and through the relaxation he becomes rideable.”
Schut-Kery had Schmidt work on riding long, slow leg-yields that spanned the length of the arena. She explained that she wasn’t looking for a lot of sideways motion with these leg-yields, but teaching the horse to go forward and off the inside leg in a way that he learns to relax in response to the leg.
“When you have a horse that’s a little bit ahead of you, I try to ride exercises where there is leg required, but in a more calming and natural way. So, shoulder-ins, leg-yields. Shoulder-in already has bend so that should help make him more supple. When he relaxes, you can start riding from the calf a little more—not more tempo. Think more control from back to front and the hind legs a little bit more through your legs.”
5. When your cues aren’t working, take a step back.
Schut-Kery praised Devon Pomeroy for being an attentive and proactive rider with Royal Dark Chocolate. She suggested taking a step back when she wasn’t getting the correct response to her cues.
“Make sure when you ask her things that you really pay attention to if she’s answering,” said Schut-Kery. “Dressage riders—it’s our nature to control everything. Sometimes it helps to break it down and say, ‘Wait a minute. I have been repeating this 20 times and she always answers for one second but then she’s gone,’ so the answer isn’t really honest enough.”
If you are repeatedly asking your horse for something and not getting the correct response, Schut-Kery said it’s okay sometimes to stop and walk to re-approach the problem with a fresh mind.
“Dressage is complex,” said Schut-Kery. “There’s the technical aspect, but then you are working with two living beings and that has to all be incorporated in how you give your aids. You not only ride just technical movements, but ride the interior of the horse, too, and what her issues are physically and mentally.”
6. Ride both sides of the horse.
Olivia Martz is currently working up to flying changes with her horse, Norra. Schut-Kery equipped her with some tools to keep Norra supple and responsive on both sides, a necessary quality before clean changes can happen.
“She gets in one position and stays there and is a little bit stiff,” Schut-Kery observed during a leg-yield exercise, adding that it’s important to ride not just the yielding aids but the receiving aids as well. “Remember how she tipped her nose to the right when you were yielding off the left leg? That means as you yield, you have to keep riding the right side of her body.
“If you are in a left lead canter and then you want to change right and she’s a little tight on the right side, that change won’t happen. You want to be able to have both sides of the horse’s body supple, regardless of what stride or canter lead she’s in. So those little yields help to get an idea for that.”
7. Stretch through the back.
Lexie Kment’s horse, Montagny Von Der Heide, was just coming back from some time off before the clinic, and Schut-Kery helped guide a warm-up that would keep him working comfortably as he builds back strength.
“In the canter, in the warm-up, lower his neck just a little bit so it’s not so tight and so that you can position his neck differently and he’s not just in one position,” said Schut-Kery. “Also, so that he reaches a little bit more to the hand, especially at the beginning. He’s had a little bit of time off and it’s only your fourth ride back on him, so you relax his back. When we talk about making him stretch, it’s not always meant to be like in first level where you stretch them all the way down, but you have a few inches of stretch available to you if you want it.
“Keep the neck in that place where he’s over the back,” Schut-Kery said. “The base of the neck in front of the withers [should be] low to the point where his back can really come up and act as a bridge between hind and front.”
8. Give a little.
Schut-Kery often advocated for the riders to give a little with their hands after working on a particular skill for a while to see how the horses responded and find out if they would be able to carry themselves.
“It’s all about reading and understanding your horse and getting the feedback from the horse in order to make an appropriate decision on what we need to do,” she said to Lexie Kment as they worked through an exercise at the walk with Montagny Von Der Heide. “Where are the holes? How can we help him? You have to give a little bit.”
9. Focus on the individual aid.
Early in Evie Olivier’s ride with George Williams on the second day of the clinic, her horse, Shiloh, was not responsive to her right lead canter cues. Rather than pile on stronger aids, Williams had her cue Shiloh to trot using just her inside leg to get her tuned in to that aid.
“Sometimes you need to zero in on the leg or the aid that she’s behind and just try to get her in front of that aid,” said Williams. “I don’t want it to take all of the aids to canter. She should be able to canter from your inside leg, or a little bit from your seat, or a little bit from your outside leg, but any one of them individually in a way that you don’t always have to have all the aids so strong. Ideally, we’d have her canter from your inside seat bone, and then we could keep her quite straight. But second to that is that she has to be in front of the inside leg so that you can keep her straight. If it takes a lot of outside leg, you run a high risk of pushing the haunches to the inside.”
10. Always praise your horse.
In Dover’s initial lecture, he reminded the participants that the rewards of a good ride weren’t as inherent to the horses as it is to the riders.
“For a horse, doing all of these amazing things that they do for us, there’s not a huge pot of gold at the end of that rainbow for them,” Dover said. “I watch it and I think, it’s beautiful. It’s also a little weird that we’re prancing around and making them do this stuff. If they were different, they would just buck us off and come back around and stomp us into the ground. But they’re such wonderful, beautiful animals that they do this stuff for us. We have to remember that with each half-halt, with each correction, the reward should be twice what the correction was.”
Watch the full replay of the 2022 Robert Dover Horsemastership Clinic Week on USEF Network.
Stay Connected
Keep up with U.S. Dressage through USA Dressage on Facebook and Instagram and US Equestrian on Facebook, Instagram, TikTok, and Twitter.


